android 8.0开始引入了渠道组的概念,app可以对通知类型进行细分,比如划分为:广告消息,私聊消息,群聊消息等。
但其实到目前为止,查看了下微信,qq基本是没有做这样的适配的。,反倒是爱奇艺划分的比较详细,不仅划分了通知渠道,更划分了渠道组。
本文分别介绍如何划分渠道和渠道组。先看看小米安全中心和爱奇艺是怎样划分渠道和渠道组的(小米6截图)
小米自带的安全中心的渠道划分
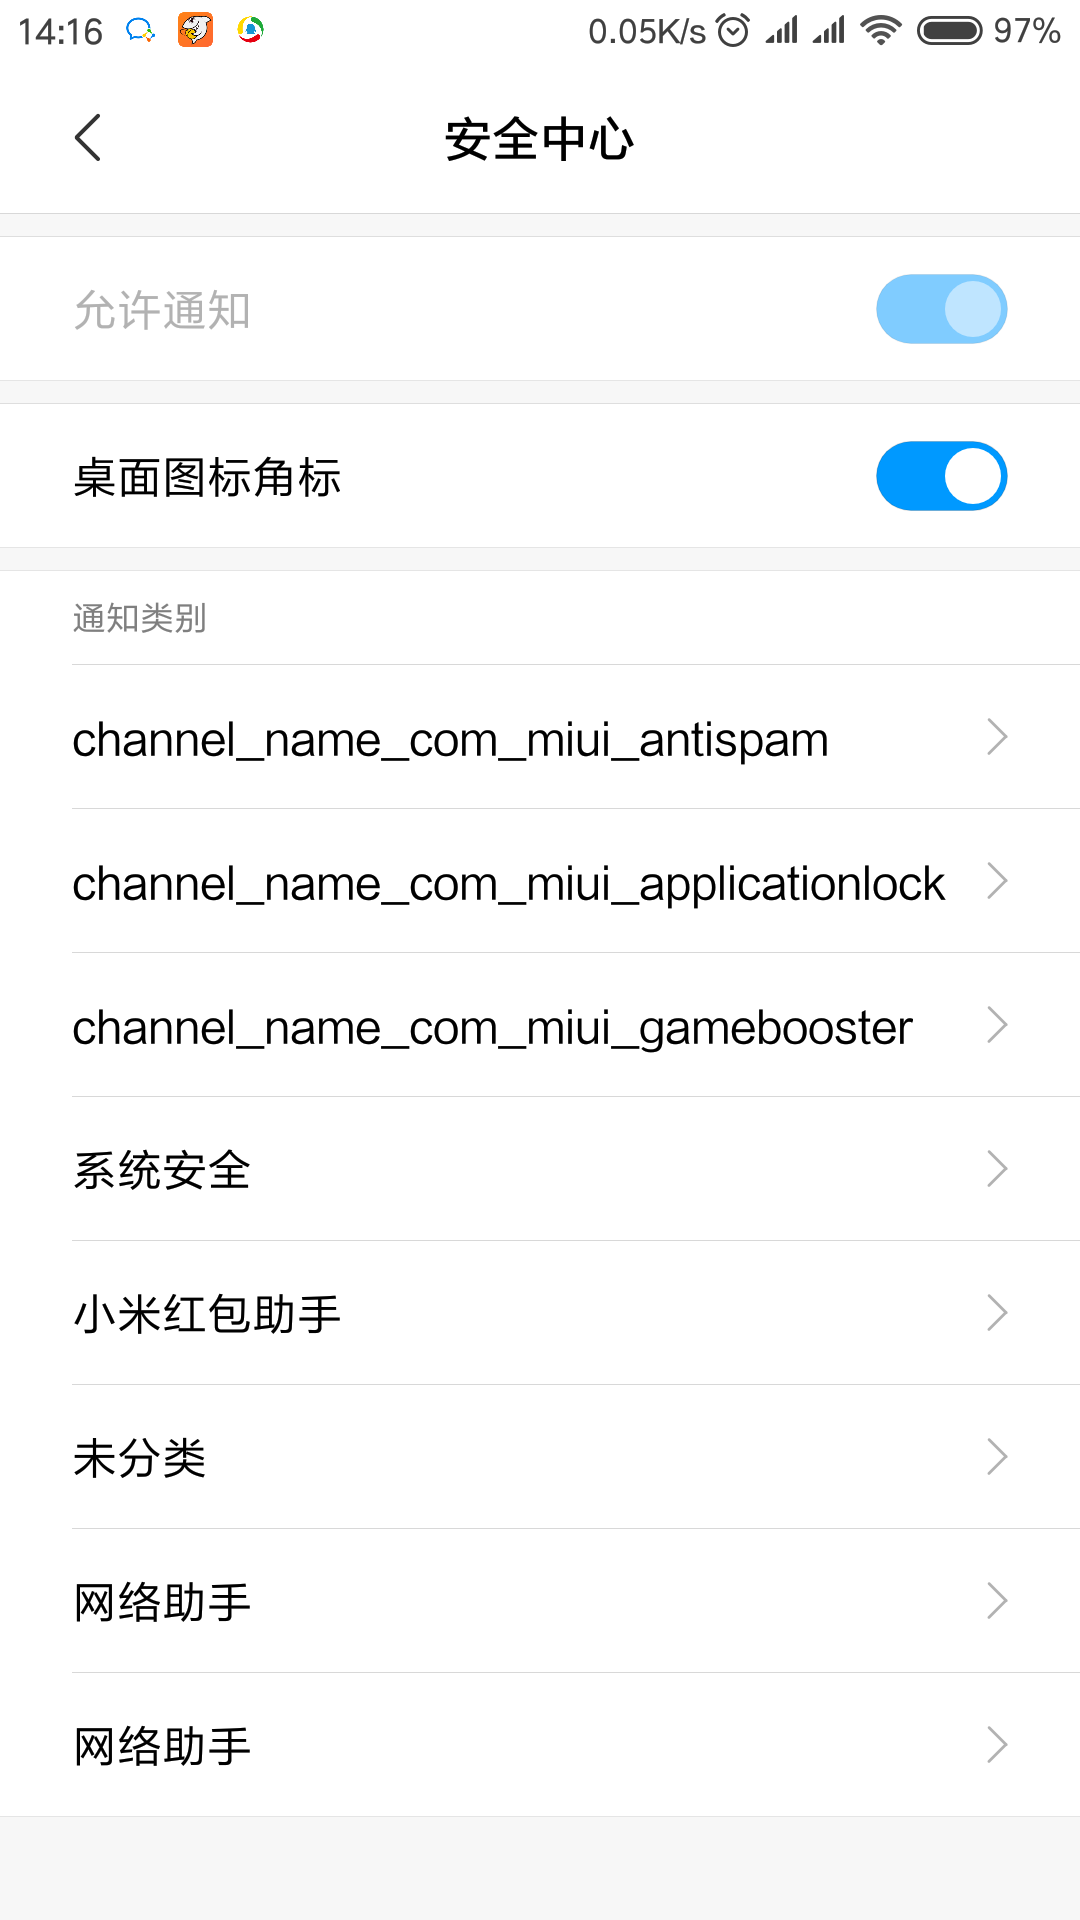
可以看到,小米官方自带的安全中心已经做了通知渠道的划分,用户可以单独对某个渠道的通知进行设置,如声音、震动、锁屏通知、悬浮栏提示灯。
下面是爱奇艺的渠道划分
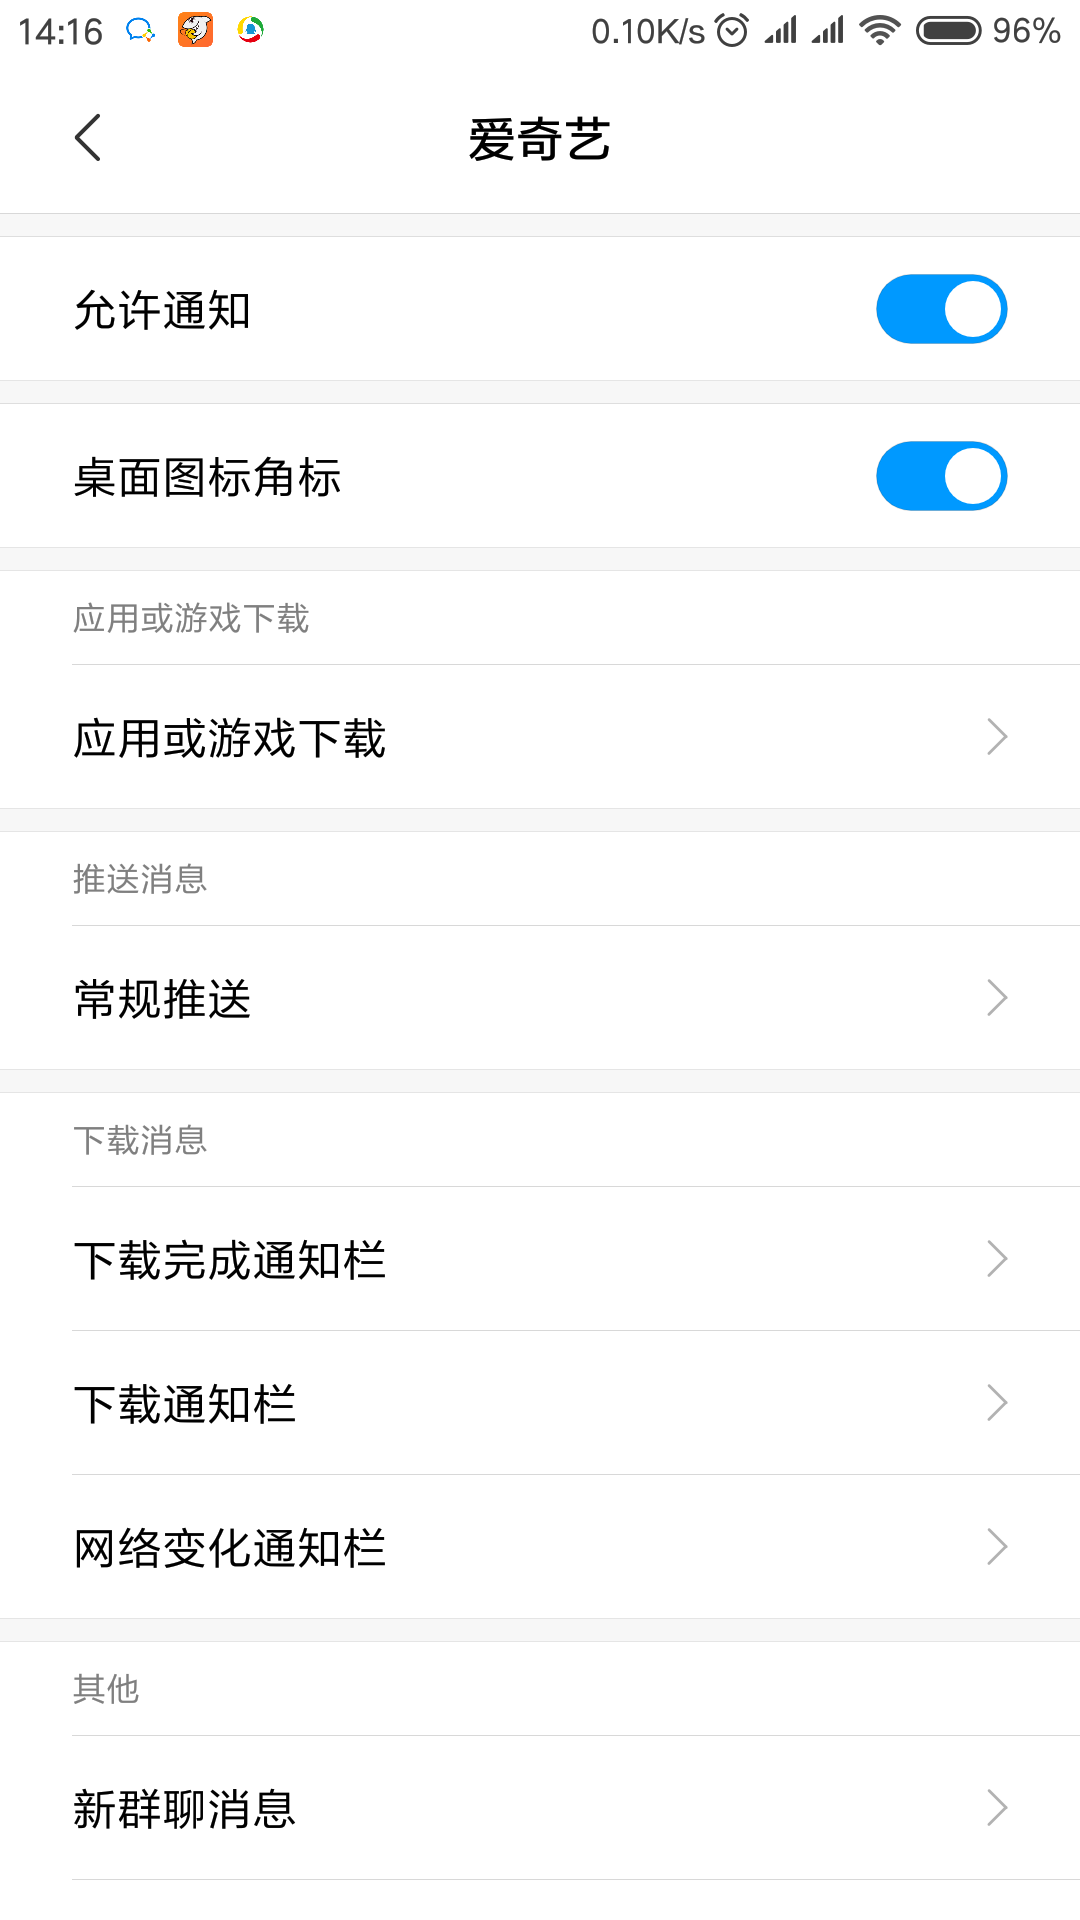
可以看到,爱奇艺的不仅划分了渠道,还给各个不同的渠道细分了渠道组。
下面首先介绍如何给自己的app添加通知渠道
首先创建一个test工程,targetSdkVersion设置为26
然后将下列代码放在 Activity 中。
onCreate 代码:
1
2
3
4
5
6
7
8
9
10
11
12
13
14
15
16
17
| @Override
protected void onCreate(Bundle savedInstanceState) {
super.onCreate(savedInstanceState);
setContentView(R.layout.activity_main);
if (Build.VERSION.SDK_INT >= Build.VERSION_CODES.O) {
String channelId = "chat";
String channelName = "聊天消息";
int importance = NotificationManager.IMPORTANCE_HIGH;
createNotificationChannel(channelId, channelName, importance);
channelId = "subscribe";
channelName = "订阅消息";
importance = NotificationManager.IMPORTANCE_DEFAULT;
createNotificationChannel(channelId, channelName, importance);
}
}
|
createNotificationChannel 代码:
1
2
3
4
5
6
7
8
9
10
| @TargetApi(Build.VERSION_CODES.O)
private void createNotificationChannel(String channelId, String channelName, int importance) {
NotificationChannel channel = new NotificationChannel(channelId, channelName, importance);
NotificationManager notificationManager = (NotificationManager) getSystemService(
NOTIFICATION_SERVICE);
if (notificationManager != null)
notificationManager.createNotificationChannel(channel);
}
|
运行程序后,打开app的通知管理就可以看到通知渠道了
它只会在首次运行的时候创建渠道,以后再运行此段代码,也不会重复创建。
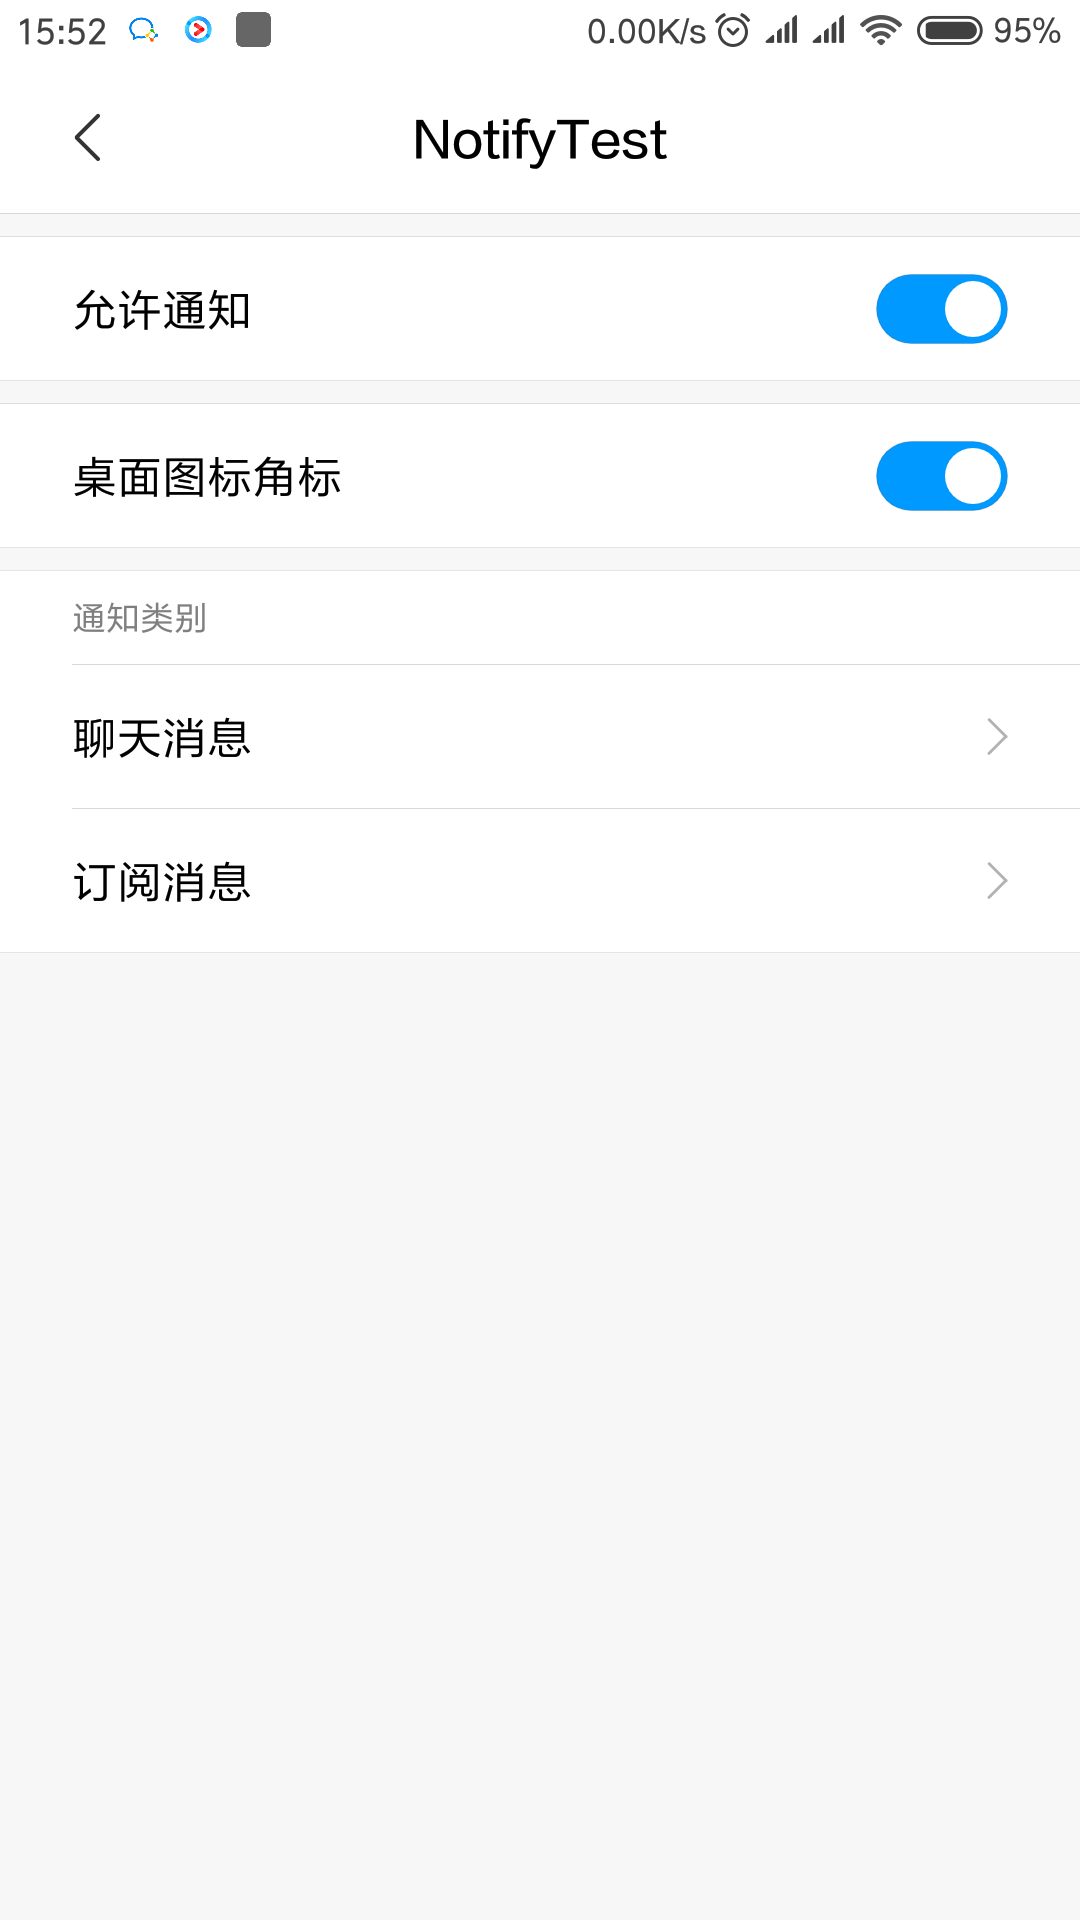
但是这时候只是简单的划分了渠道,那么,怎么像爱奇艺一样,划分渠道组呢?
下面代码演示了如何划分渠道组:
onCreate:
1
2
3
4
5
6
7
8
9
10
11
12
13
14
15
16
17
18
19
| @Override
protected void onCreate(Bundle savedInstanceState) {
super.onCreate(savedInstanceState);
setContentView(R.layout.activity_main);
if (Build.VERSION.SDK_INT >= Build.VERSION_CODES.O) {
createNotifycationGroup("chat", "聊天");
createNotifycationGroup("subs", "普通消息");
String channelId = "chat";
String channelName = "聊天消息";
int importance = NotificationManager.IMPORTANCE_HIGH;
createNotificationChannel(channelId, "chat", channelName, importance);
channelId = "subscribe";
channelName = "订阅消息";
importance = NotificationManager.IMPORTANCE_DEFAULT;
createNotificationChannel(channelId, "subs", channelName, importance);
}
}
|
Method:
1
2
3
4
5
6
7
8
9
10
11
12
13
14
15
16
17
18
19
20
21
22
23
24
25
| @TargetApi(Build.VERSION_CODES.O)
private void createNotificationChannel(String channelId, String group, String channelName, int importance) {
NotificationChannel channel = new NotificationChannel(channelId, channelName, importance);
channel.setGroup(group);
NotificationManager notificationManager = (NotificationManager) getSystemService(
NOTIFICATION_SERVICE);
if (notificationManager != null)
notificationManager.createNotificationChannel(channel);
}
private void createNotifycationGroup(String groupId, String groupName) {
NotificationChannelGroup group = new NotificationChannelGroup(groupId, groupName);
NotificationManager notificationManager = (NotificationManager) getSystemService(
NOTIFICATION_SERVICE);
if (notificationManager != null) {
notificationManager.createNotificationChannelGroup(group);
}
}
|
通过上面代码,打开通知栏管理即可查看渠道组效果:
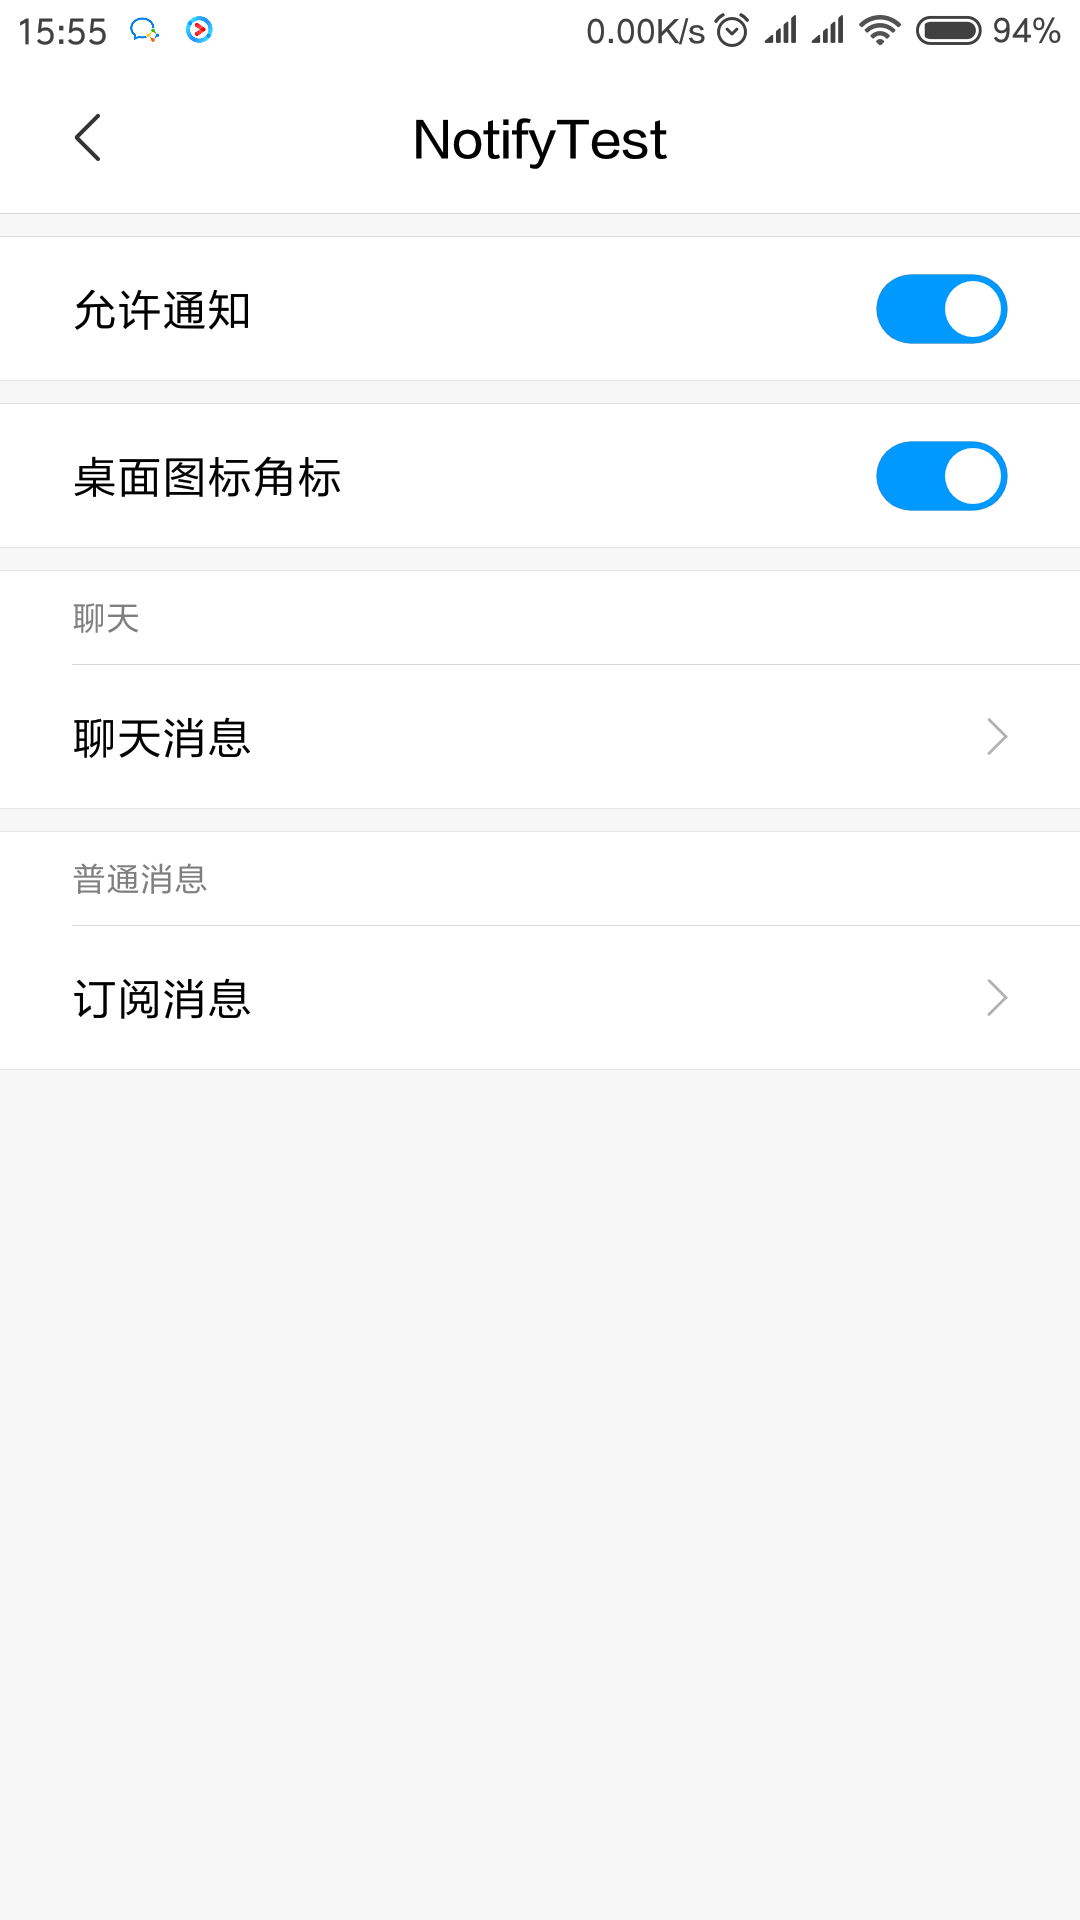
可以看到,消息划分成了 聊天 和 普通消息 渠道组,组下分别有不同的渠道
那么怎么往某个渠道发送消息呢?
下面代码演示如何发送通知栏消息:
1
2
3
4
5
6
7
8
9
10
11
12
| public void sendMessage() {
NotificationManager manager = (NotificationManager) getSystemService(NOTIFICATION_SERVICE);
Notification notification = new NotificationCompat.Builder(this, "chat")
.setContentTitle("you girlfrind")
.setContentText("今晚上回家吗?")
.setWhen(System.currentTimeMillis())
.setSmallIcon(R.drawable.icon)
.setLargeIcon(BitmapFactory.decodeResource(getResources(), R.drawable.icon))
.setAutoCancel(true)
.build();
manager.notify(1, notification);
}
|
把代码放在合适的位置,然后调用即可
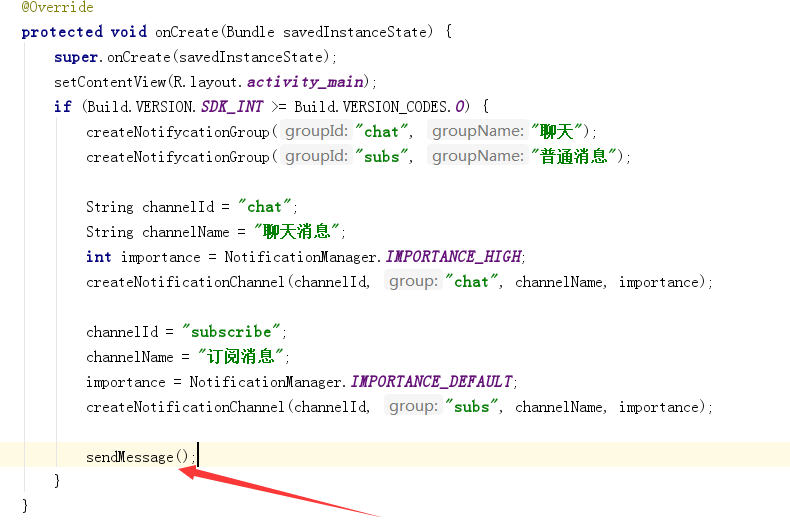
重新运行程序后,即可在通知栏看到效果:
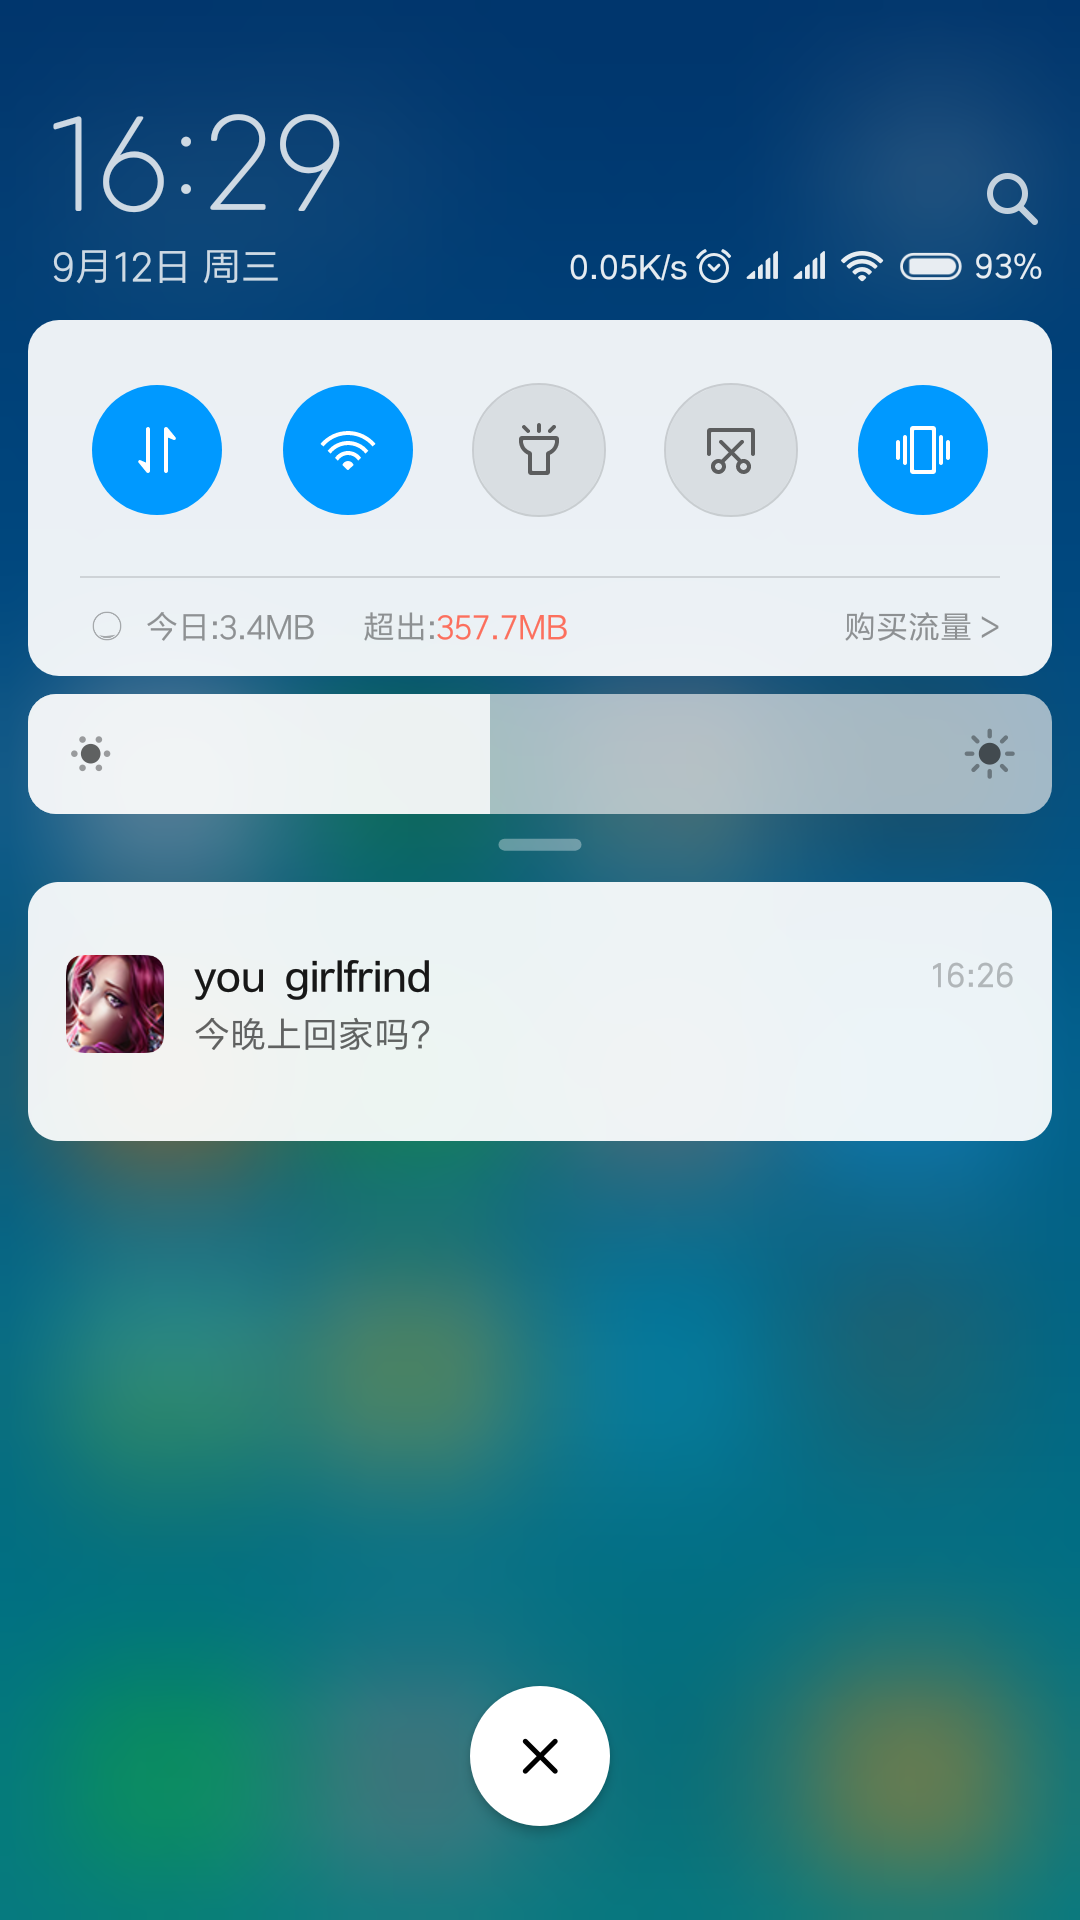
就这样了~
好了,这里只是介绍一下通知渠道和渠道组,更详细的可以看这篇博文,它介绍了如何适配app角标,设置消息的等级等内容。