所有命令均在 root用户下执行
如果搭建 gitlab ,则可能带不动,因为对于内存 1G 的树莓派来说。gitlab 太重了
那么,可以搭建一个简易的服务器,首页可以查看仓库列表,使用 http 进行拉取提交
创建空的仓库
首先创建一个空的仓库
例如我的仓库路径放在
/media/pi/storage/codes
在该目录下使用命令:git init --bare test.git
创建一个空的主仓库
安装 nginx
apt-get install nginx
安装 fcgiwrap
apt-get install fcgiwrap
编辑 nginx 配置
vim /etc/nginx/nginx.conf
在 http{} 里面添加如下配置
server{
    listen 80;
    server_name git.zwc365.com;

    auth_basic "web-check-user";
    auth_basic_user_file /media/nginx/web.db;

    error_page 404 /tip.txt;

    location / {
        fastcgi_intercept_errors on;

        fastcgi_pass unix:/var/run/fcgiwrap.socket;
        fastcgi_param SCRIPT_FILENAME /usr/lib/git-core/git-http-backend;
        fastcgi_param GIT_HTTP_EXPORT_ALL "";

        # git root dir
        fastcgi_param GIT_PROJECT_ROOT /media/pi/storage/codes;
        fastcgi_param PATH_INFO $uri;

        # user info
        fastcgi_param REMOTE_USER $remote_user;
        include fastcgi_params;
        client_max_body_size 100M;
    }

    location = / {
        root /media/pi/storage/codes;
        autoindex on;
        autoindex_exact_size on;
        autoindex_localtime on;
    }
    location = /tip.txt {
        charset utf-8;
        root /media/pi/storage/codes;
    }
}
注意 server_name 换成你自己的域名
上面是目前我的完整配置
如果直接复制的话,需要继续执行下面的操作
添加验证用户
auth_basic "web-check-user";
auth_basic_user_file /media/nginx/web.db;
在刚才的配置文件中,有这两行
这两个的目的是,不让用户直接访问,而需要通过账号密码,才可以访问到页面
在 /media/nginx/ 目录下,执行下面的命令
printf "account:$(openssl passwd -crypt YourPassword)\n" >>web.db
account 改成自己的账户, YourPassword 改成密码
可以多次执行创建多个用户
创建提示文件
也可以不创建提示文件,但会直接显示 404 ,不友好
在项目根目录 /media/pi/storage/codes 下执行
vim tip.txt
放入以下内容
内容可随意修改
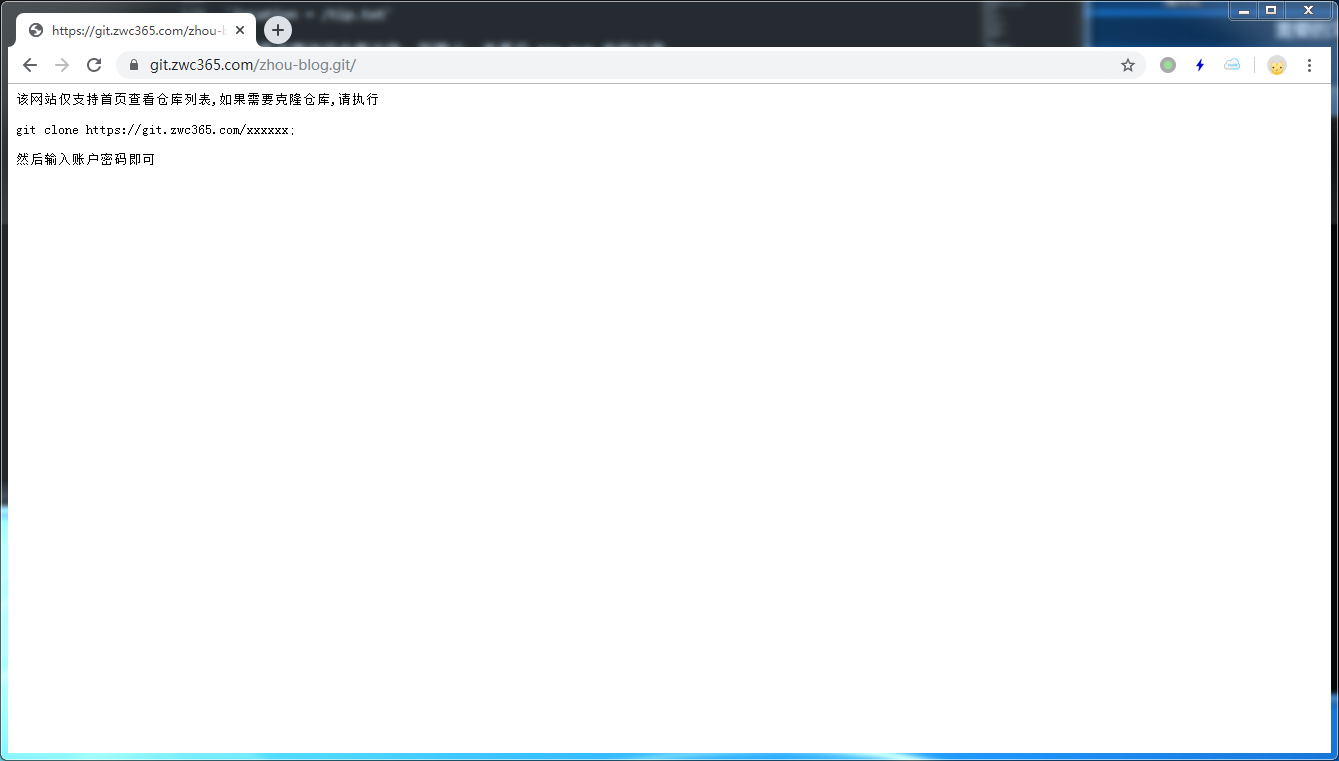
该网站仅支持首页查看仓库列表,如果需要克隆仓库,请执行

git clone https://git.zwc365.com/xxxxxx

然后输入账户密码即可
说明
server{} 中 location 块的作用
配置
    location = / {
        root /media/pi/storage/codes;
        autoindex on;
        autoindex_exact_size on;
        autoindex_localtime on;
    }
让用户使用浏览器访问的时候,可以看到仓库列表
配置
    location = /tip.txt {
        charset utf-8;
        root /media/pi/storage/codes;
    }
如果用户想访问仓库文件,则禁止,并显示 tip.txt 中的文字
配置块 location / 的作用
将所有请求都转发到 fscgi 处理,使 git 可以拉取代码
至此就已经搭建好了
执行命令重启 nginx 服务器
nginx -t
nginx -s reload
使用 https://git.zwc365.com/test.git 就可以拉取代码了
账号密码就是刚才执行 printf 输出到 web.db 的账号密码
效果
浏览器访问仓库主页:
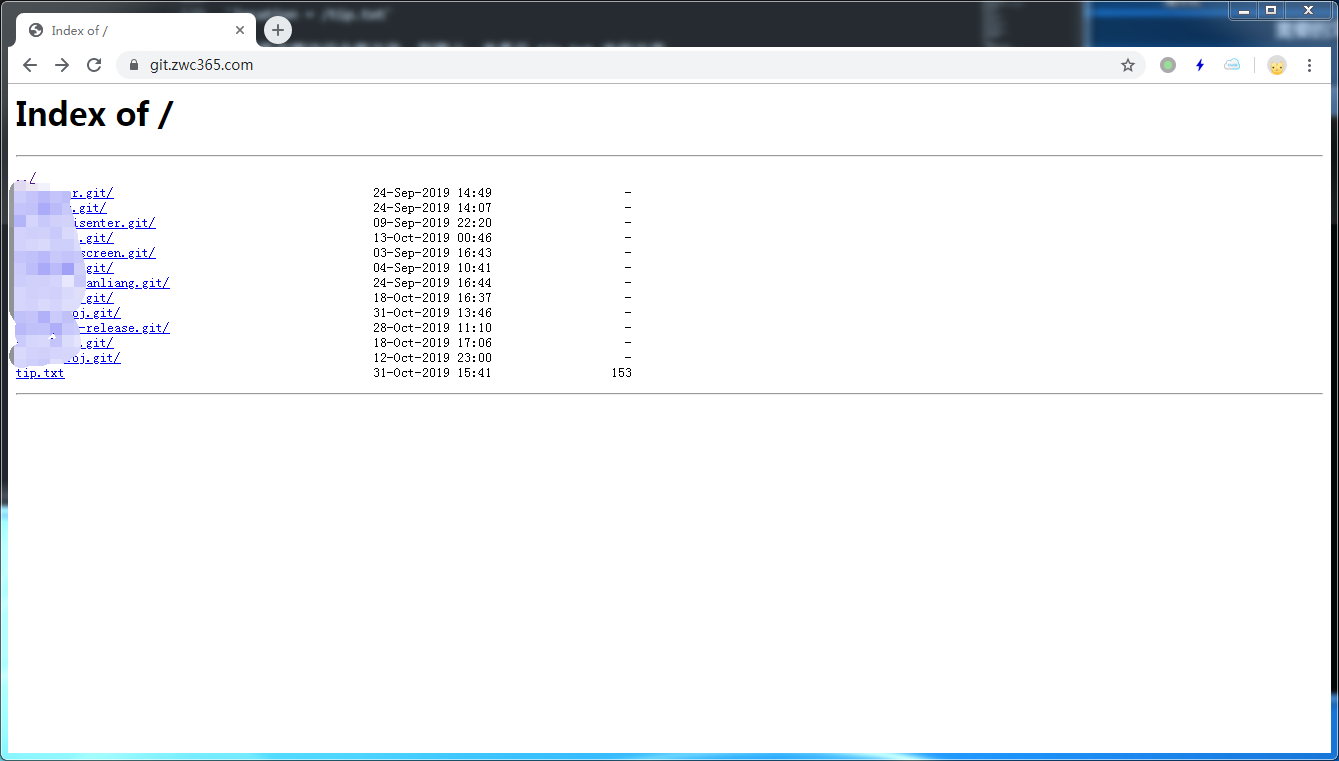
如果想使用浏览器查看仓库,则会显示上面 tip.txt 文件中的内容
其它
注意:我git仓库的路径 /media/pi/storage/codes 目录的权限是 777 ,所以可以正常 pull 和 push
如果你使用的目录权限不是 777 的话,那么会导致无法 push ,因为可能没有写入权限
如果出现无法拉取和推送的情况,需要设置目录权限,或者将用户 www-data 添加到这个目录的用户组里面
因为拉取和推送的时候,fcgi 使用的用户是 www-data
可以查看
vim /etc/init.d/fcgiwrap文件,里面的FCGI_USER默认用户就是www-data用户
所以有三种解决方案
- 修改目录权限为777 (不推荐)
- 修改目录的所有者为 www-data (推荐)
- 将www-data 添加到目录所有者的组中,并且修改目录权限为用户组可写 (有点麻烦)
# 第一种:修改目录权限
chmod -R 777 xxxx
# 第二种:修改文件夹所有者
chown -R www-data:www-data xxxxx
# 第三种:添加用户到 组中,然后修改用户组权限,使其可写
usermod -a -G xxx www-data
chmod -R 774 xxxx
第三种一般来说还要在 .bashrc 里面 umask 002 命令,防止后面创建项目后,用户组没有权限推送
使其可以自动的设置初始用户组权限为可写
综合来说,推荐第二种方式,将文件夹所有者修改成 www-data 用户